
Important: Homacer offers several single-track bypass sliding barn door hardware configurations. Use this guide to understand the overall installation process, then follow the manual supplied with your specific kit for exact hole locations, mounting height, clearances and component placement.
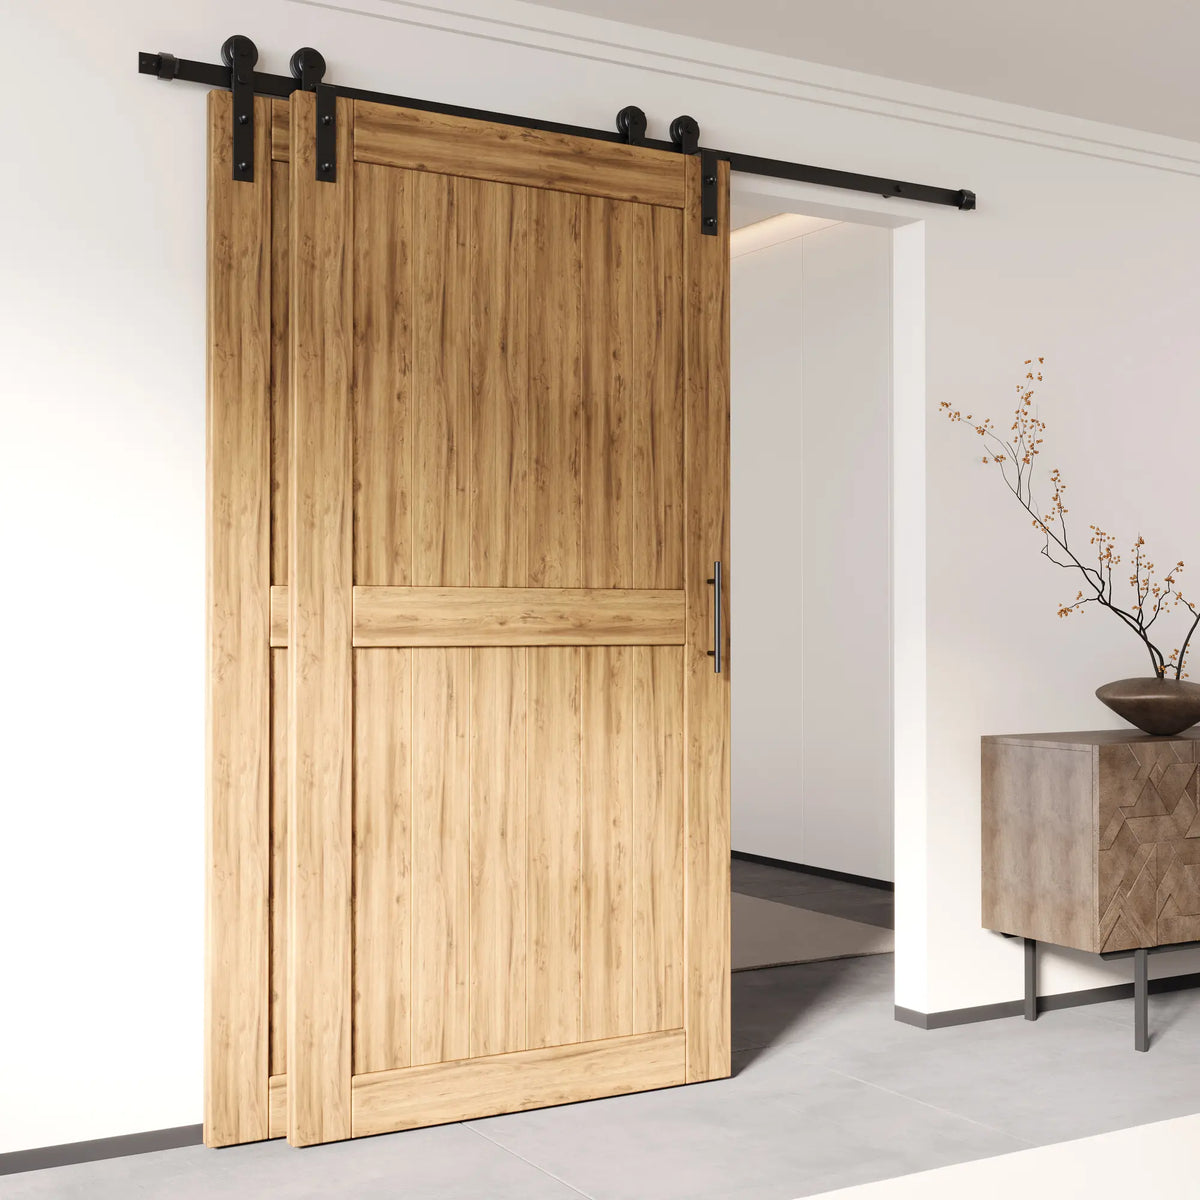
Single-track bypass sliding barn door hardware allows overlapping doors to operate on one shared main rail. The compact overhead layout makes this system useful for closets, laundry rooms, pantries and other interior openings where a conventional double-track arrangement may require too much space.
A successful installation depends on more than mounting the rail. The opening, door sizes, overlap, structural support, hanger arrangement, handle clearance and floor guides must all work together.
This guide explains the main installation process. Because Homacer offers different roller styles, finishes and door configurations, use the installation manual supplied with your specific kit for exact dimensions, drilling locations and hardware placement.
If you are still deciding between single-, double- and triple-track systems, begin with How to Choose Bypass Barn Door Hardware.
How Does a Single-Track Bypass System Work?

A single-track bypass system uses one shared main rail with an offset hanger arrangement. The doors sit in overlapping positions so one panel can occupy a path in front of the other.
This arrangement is different from double-track bypass hardware, where the front and rear doors travel on two separate parallel tracks.
Because the doors share one main rail, the exact movement pattern depends on the selected kit and door configuration. Review the product diagram before installation to confirm:
- Which hardware assembly belongs to each door
- Which door sits in front
- How the panels overlap
- How far each door can travel
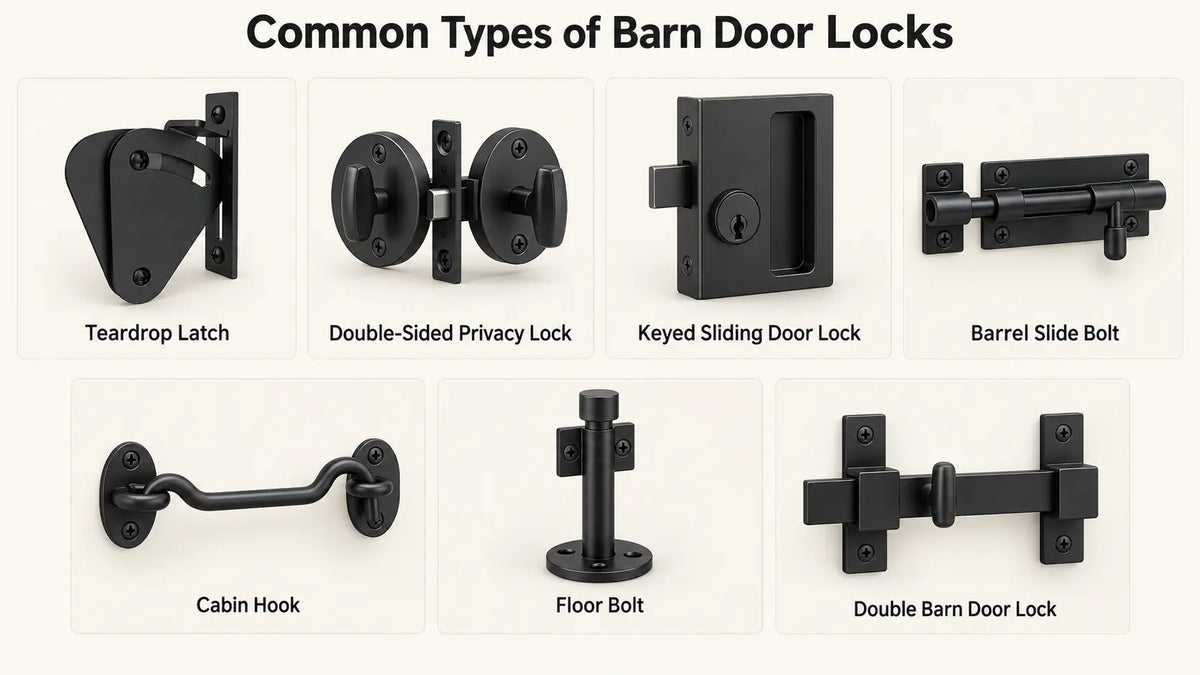
- Where the handles and floor guides will be placed
Do not interchange the front and rear hanger components unless the product instructions specifically permit it.
Explore Homacer Single-Track Bypass Barn Door Hardware
Before You Begin
Complete the following checks before drilling the wall or doors.
Match the Manual to Your Sliding Barn Door Hardware Kits
Homacer provides separate manuals for selected single-track bypass products, including black, brushed nickel and spoke-wheel configurations.
Match the manual to:
- Hardware finish
- Roller design
- Product model
- Door quantity
- Approximate purchase date or order batch
Hardware designs may be updated over time. The manual packaged with the product or the matching manual on the Homacer Installation Instructions page should determine the exact measurements used during installation.
Confirm That All Components Are Present
Open the package and compare every component with the parts list in the corresponding manual.
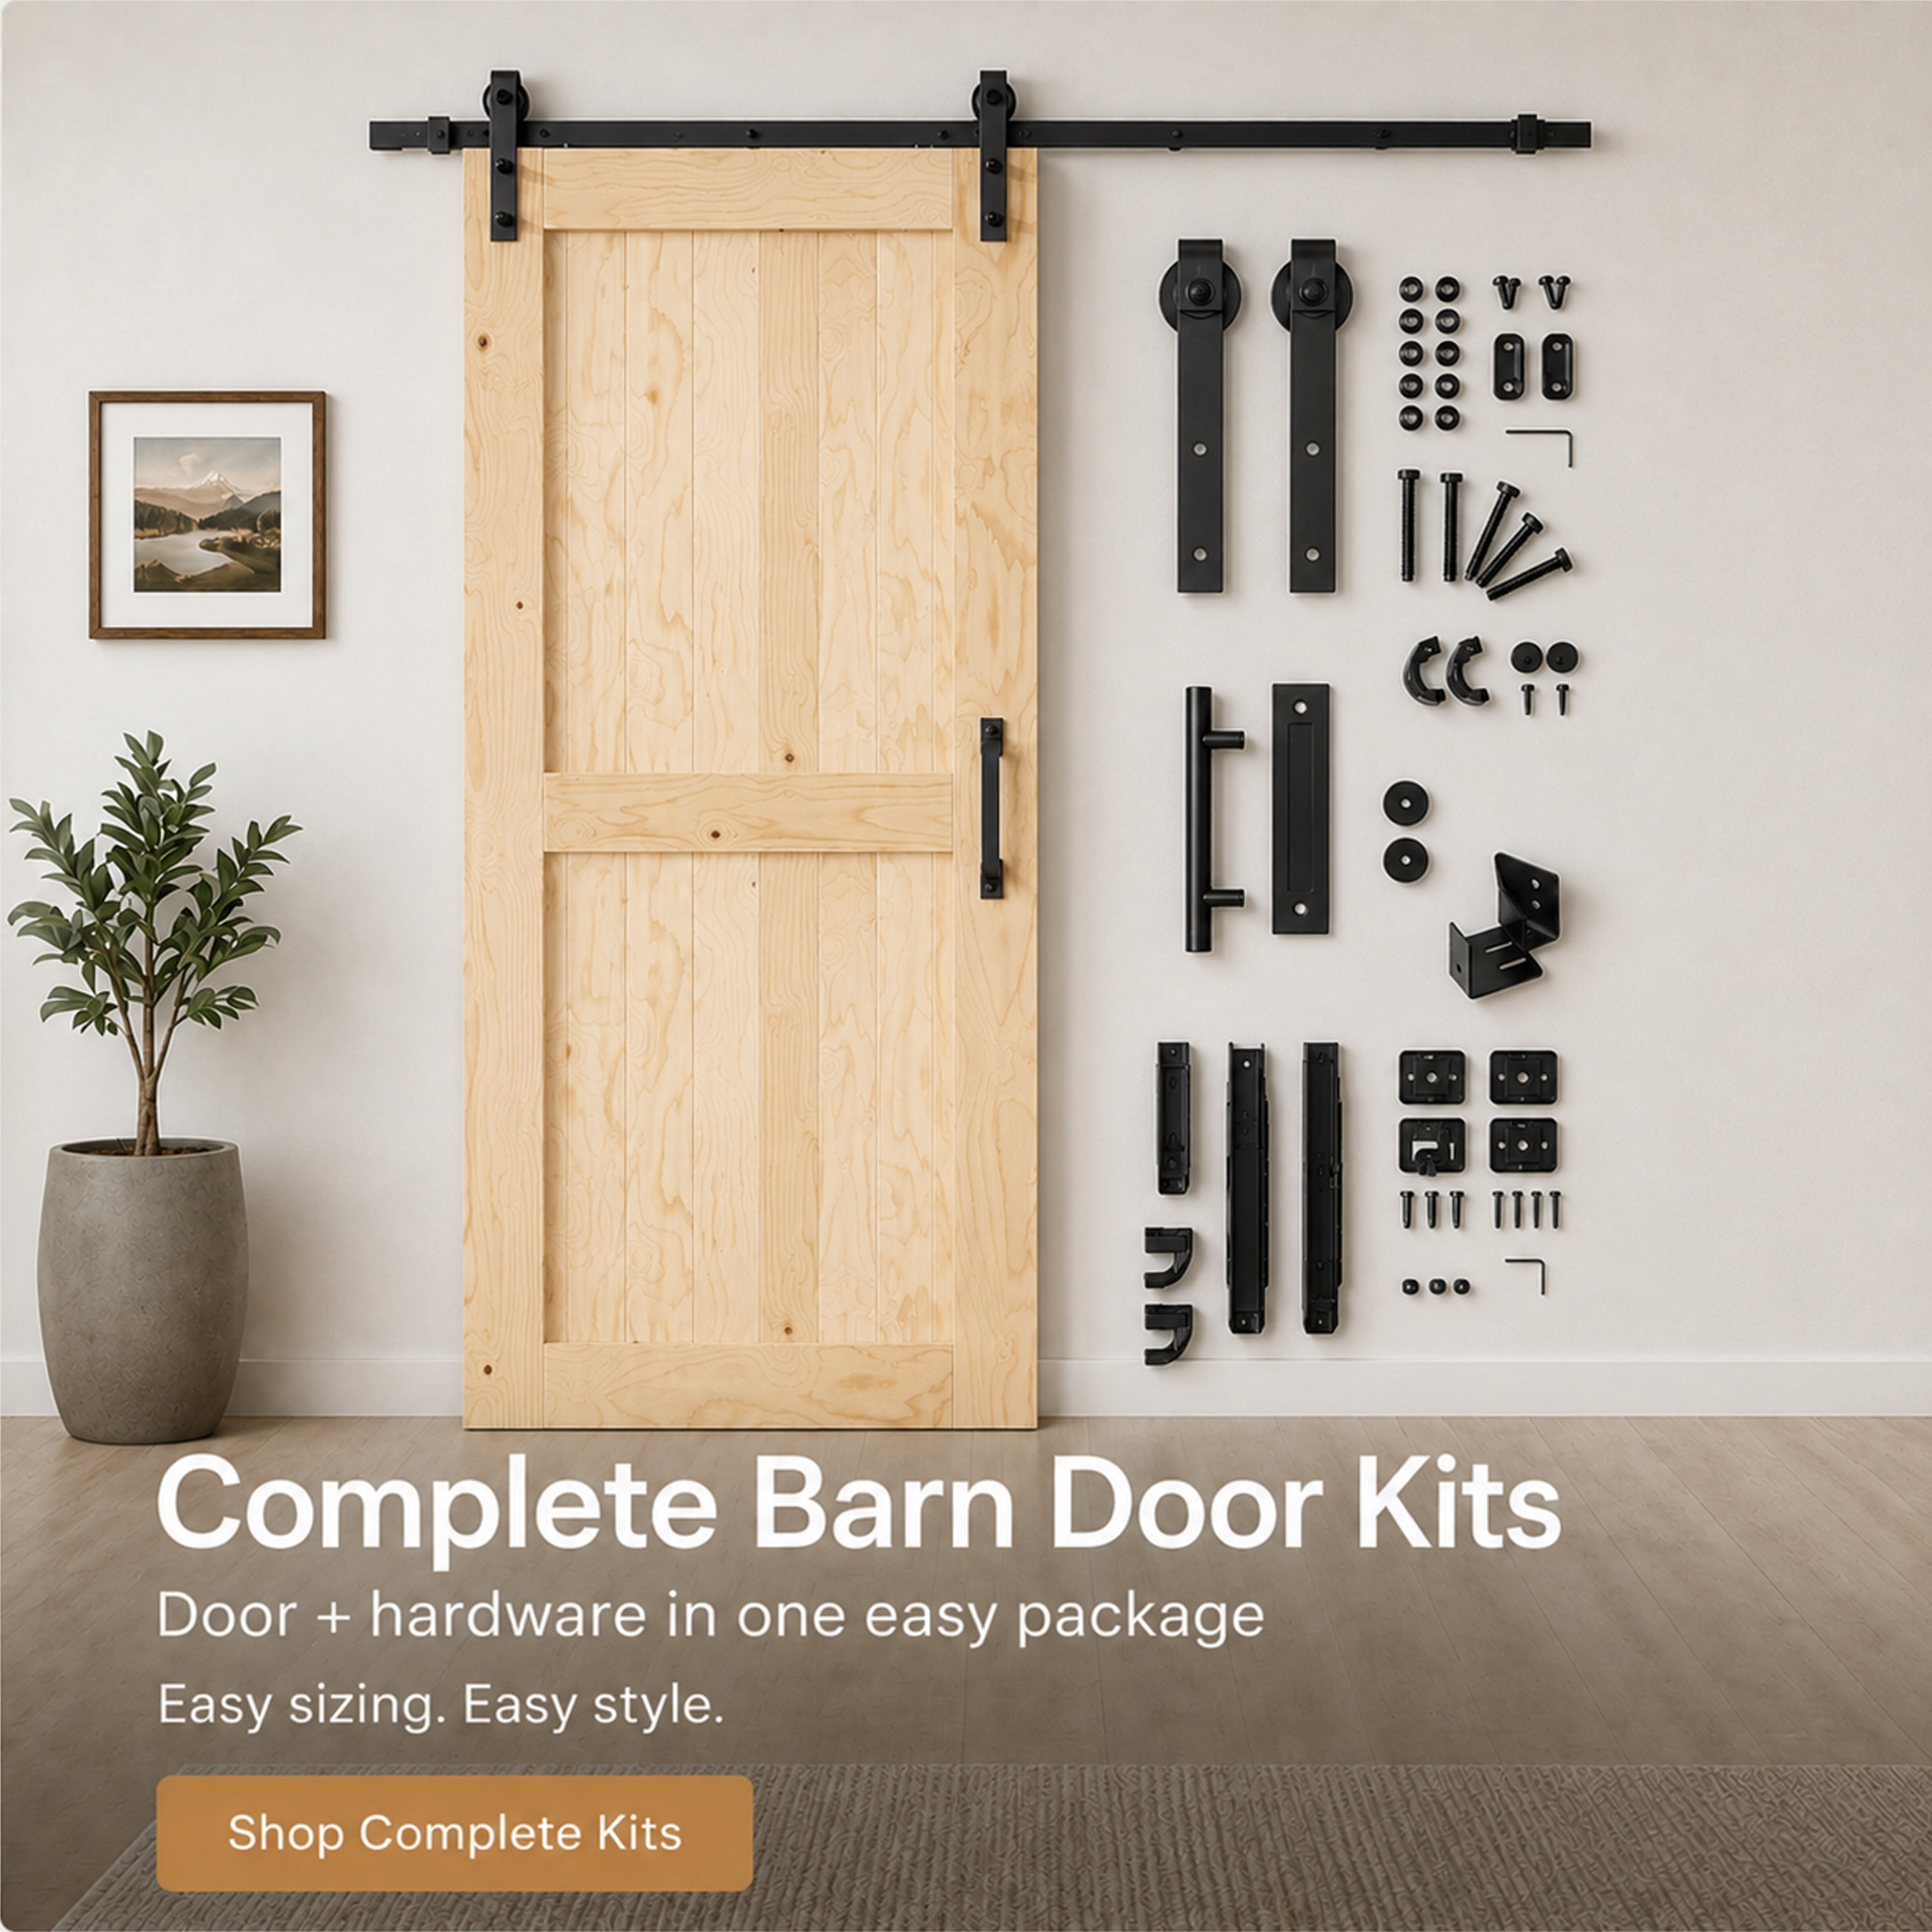
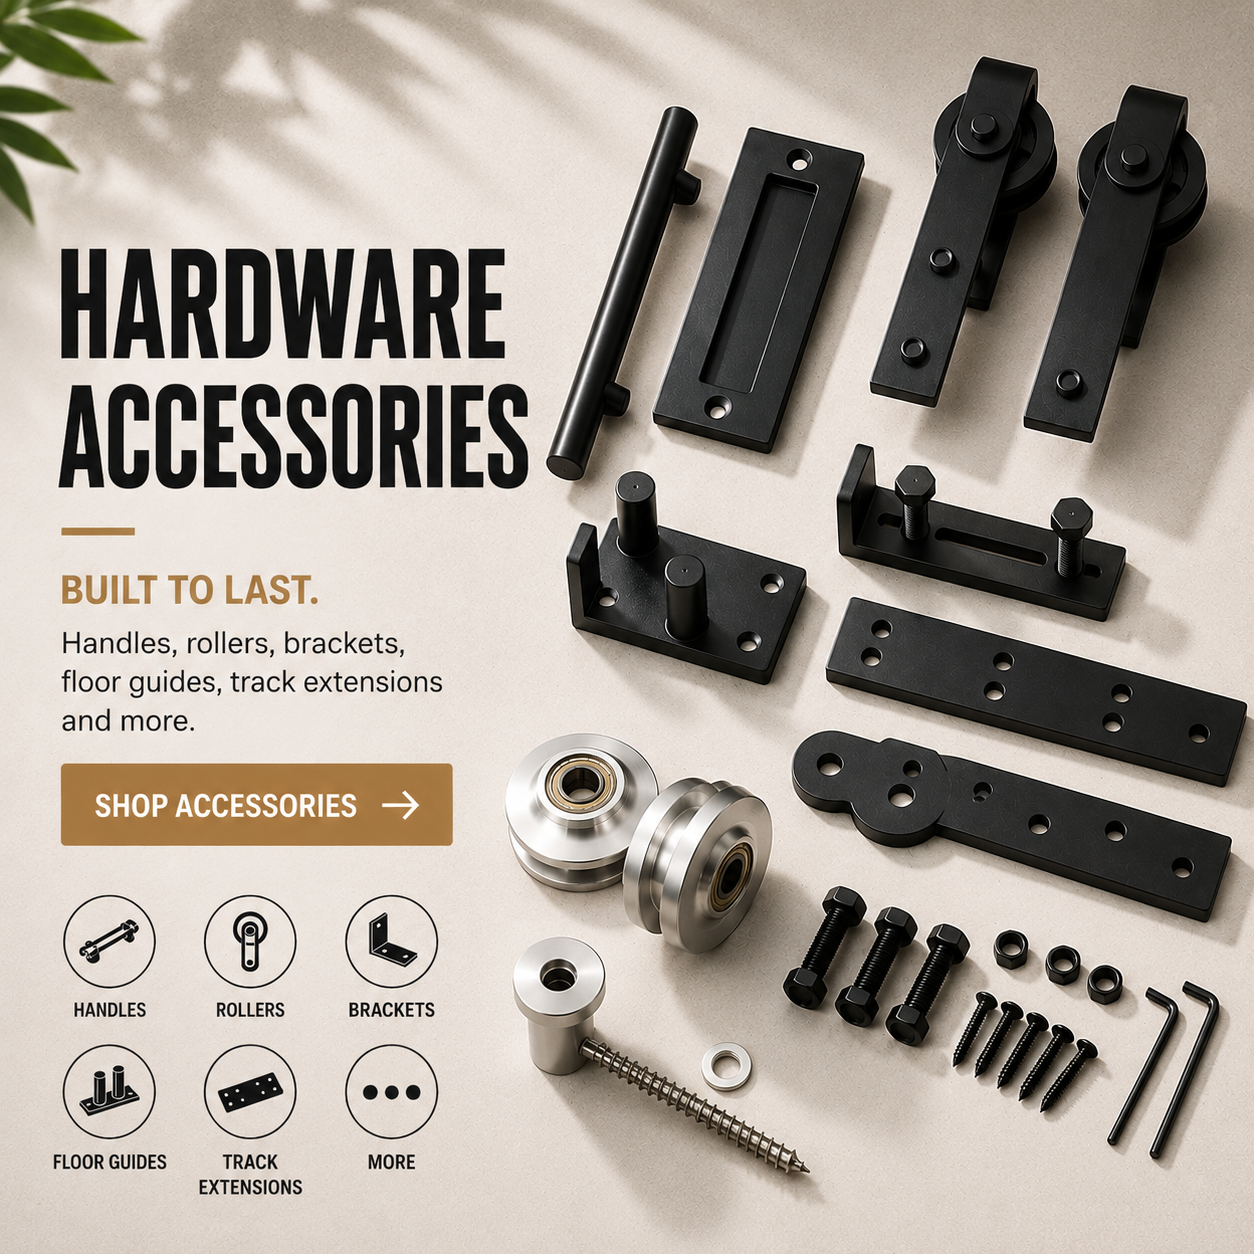
Depending on the selected product, the package may contain:
- Main track or track sections
- Track connectors or junction plates
- Rollers and hangers
- Offset bypass components
- Wall spacers
- Lag bolts and mounting hardware
- Door stoppers
- Anti-jump components
- Floor guides
- Door bolts, washers and nuts
- Soft-close components, when included with the selected option
Included parts vary by product. Organize the components by installation step before beginning so similar-looking front and rear hardware pieces are not mixed together.
Assemble the Sliding Barn Door First
If you are installing Homacer barn doors, remember that the doors are shipped unassembled.
Complete the door assembly according to the door instructions before establishing the final track height or drilling hanger holes. The finished door dimensions determine the hardware position and floor clearance.
Place the assembled doors on a clean, level surface and confirm that they are square before installing the hangers.
Check the Door Specifications
Confirm the actual:
- Width of each door
- Height of each door
- Thickness of each door
- Weight of each door
- Location of any existing holes
- Bottom-edge construction
- Handle and recessed-pull locations
Both doors should meet the thickness and weight requirements of the selected hardware kit.
Check the Opening and Wall
Measure the finished opening rather than the rough opening.
Record:
- Finished opening width
- Finished opening height
- Available wall space
- Vertical space above the doors
- Highest point of the finished floor
- Trim and baseboard projection
- Location of studs or structural blocking
- Nearby switches, vents and outlets
Take width and height measurements in more than one location if the opening or floor may not be level.
Calculate Door Coverage and Overlap
The doors must cover the finished opening when the system is closed while maintaining the overlap required by the selected hardware.
As a general reference, the Homacer Track Size Calculator uses the following minimum door-width calculation for a standard single-track bypass layout:
Minimum width of each door = (finished opening width + 6.25 inches of overlap) ÷ 2
For example, if the finished opening is 60 inches wide:
(60 + 6.25) ÷ 2 = 33.125 inches
Each door would need to be at least approximately 33⅛ inches wide under that reference layout.
This calculation is a planning reference rather than a universal installation specification. Hanger offset, door placement and individual kit construction can affect the required overlap.
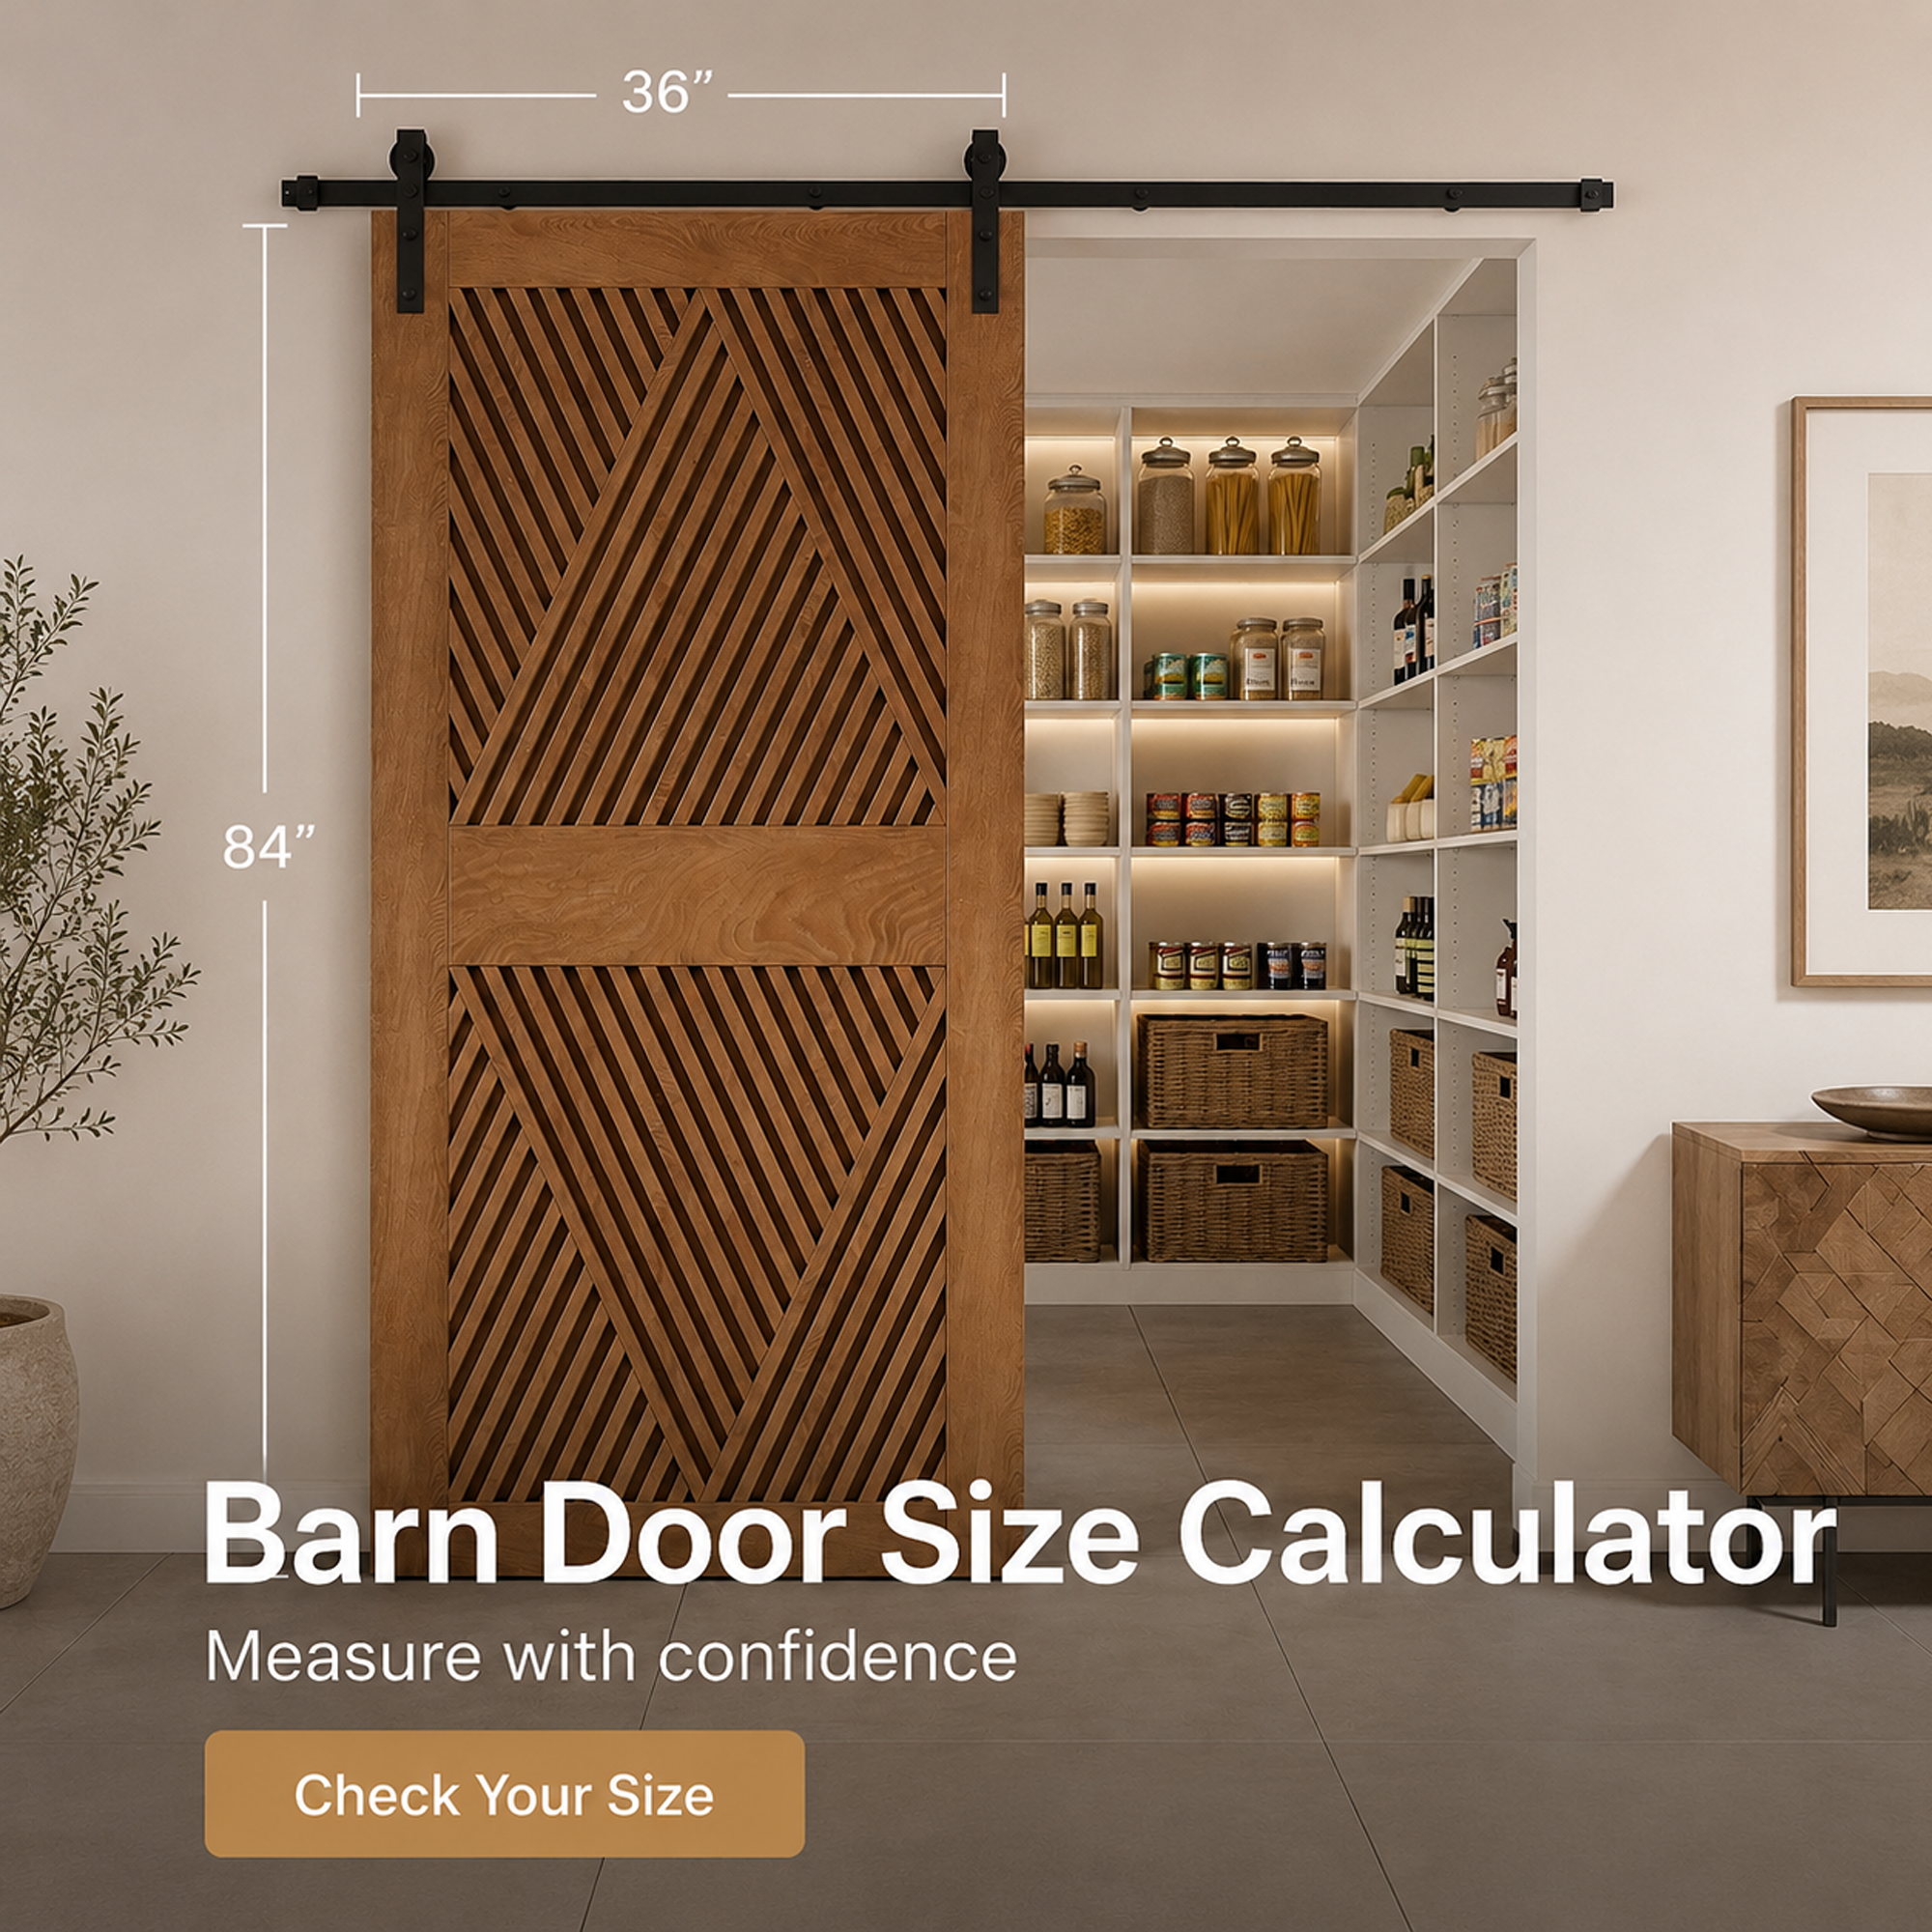
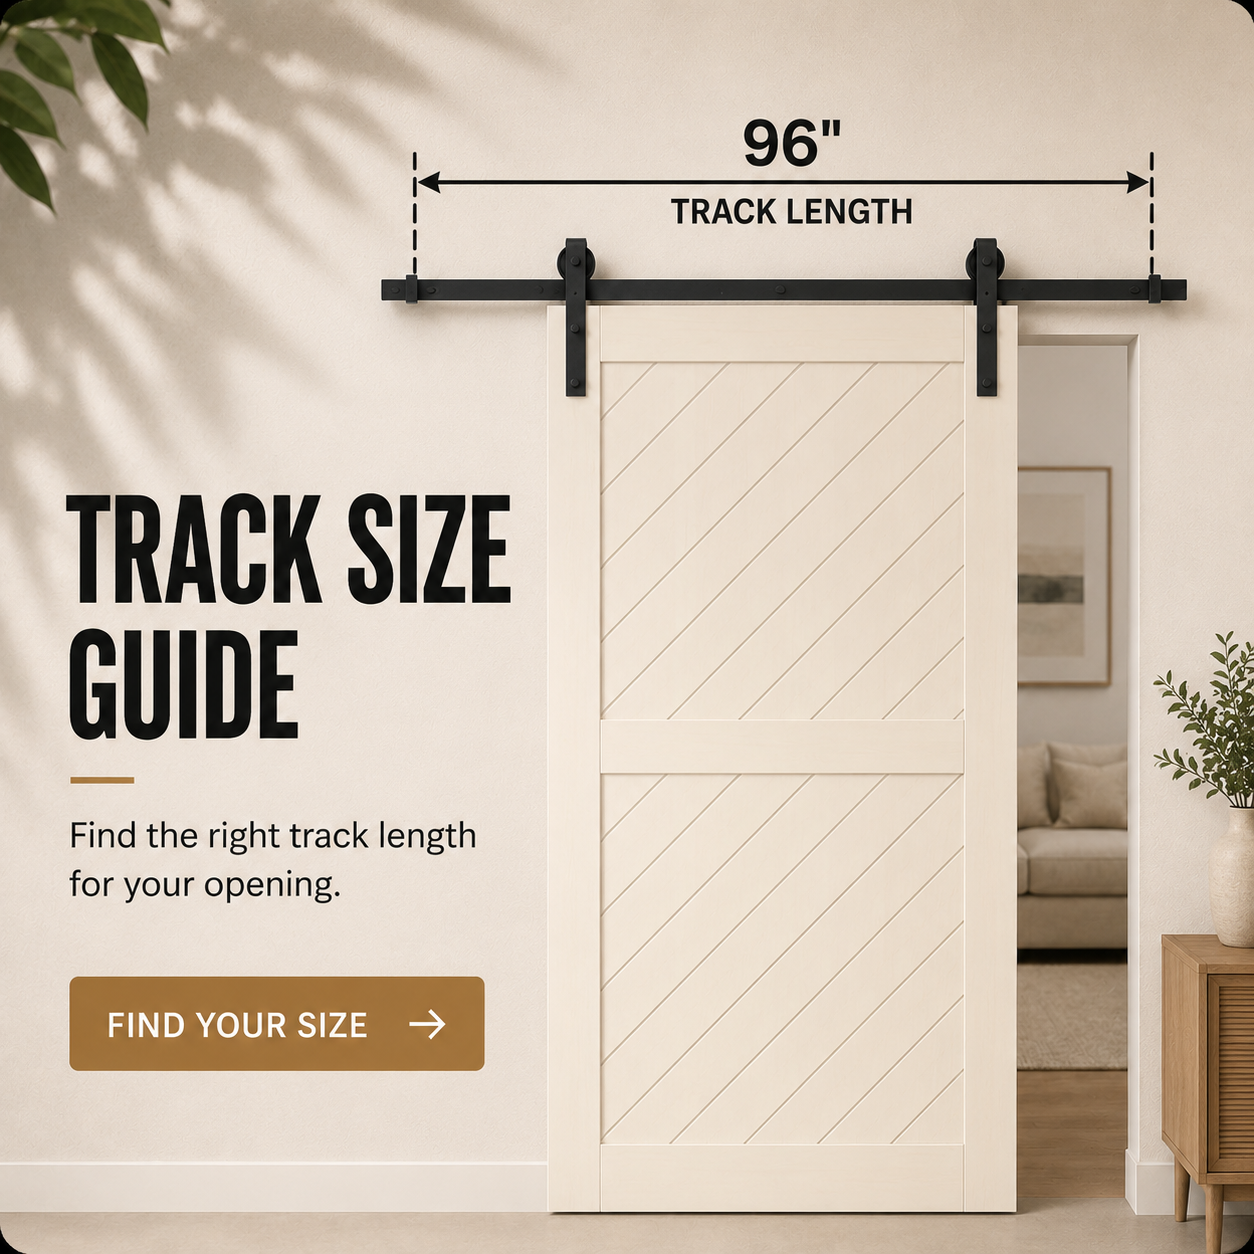
Use the Homacer Barn Door Track Size Calculator, then compare the result with the product page and installation manual for your selected kit.
Check Vertical Clearance
Vertical clearance is the space available between the top of the door and the ceiling.
The roller, hanger, rail and bypass components must fit within this space. As an initial planning guide, less than 8 inches of clearance often points customers toward a single-track bypass system instead of a conventional double-track arrangement.
That does not mean every single-track kit fits within the same space. Roller style, mounting height, door height and bracket design can change the requirement. Selected spoke-wheel designs may require additional vertical clearance.
Use the exact clearance shown for your hardware rather than relying on one measurement for every Single-Track product.
Tools and Supplies
The required tools depend on the wall construction and selected hardware, but a typical installation may use:
- Tape measure
- Pencil
- Level or laser level
- Stud finder
- Drill and appropriate drill bits
- Socket wrench or adjustable wrench
- Screwdrivers
- Clamps
- Carpenter’s square
- Step ladder
- Safety glasses
- Hearing protection
- Suitable anchors or masonry fasteners when specified
- Header board, blocking or other structural mounting material when required
Because the doors can be heavy and must be lifted onto the track, having at least one additional adult available is recommended.
Step 1: Plan the Closed and Open Positions
Before marking the rail, place or outline the doors in their intended closed positions.
Confirm:
- The complete opening is covered
- The planned overlap is correct
- The front and rear door order matches the hardware
- The doors have enough travel
- Handles will remain accessible
- The panels will not strike trim or baseboards
- The open doors will not cover switches, outlets or vents
- Nearby cabinets, appliance doors and furniture remain usable
For a closet or laundry opening, consider which side needs to be accessed most often. A bypass system normally exposes one portion of the opening at a time.
Step 2: Locate Structural Support

The track carries the weight of the doors and must be attached to suitable structural support.
Depending on the installation, that may include:
- Wall studs
- Structural blocking
- A properly secured header board
- Masonry or concrete using suitable fasteners
Drywall alone is not sufficient to support the track and doors.
Use a stud finder and confirm the stud positions. Compare them with the mounting-hole pattern on the track. If the required mounting points do not align with suitable framing, a properly installed header board or additional blocking may be needed.
The mounting surface should be flat enough to keep the rail straight and level. Address major wall irregularities before installing the hardware.
Step 3: Establish the Track Height
The correct barn door tracks height depends on:
- Actual door height
- Roller and hanger design
- Required floor clearance
- Track position
- Floor-guide design
- Highest point of the finished floor
Begin measuring from the highest point of the floor across the door travel area. This helps prevent a door from rubbing against a raised section of flooring.
Use the track-height measurement shown in the manual for the exact product. Avoid applying a fixed formula from another roller style, because the distance between the top of the door, wheel center and rail can differ.
Mark the mounting height at several points and use a level or laser to create a straight reference line.
Step 4: Prepare the Track
If the hardware uses more than one track section, assemble or position the sections according to the manual.
Check that:
- The sections form one straight rail
- Track joints align smoothly
- Connector plates are installed in the correct orientation
- Stoppers that must slide onto the rail are added before the rail is mounted
- Soft-close components, when compatible, are positioned at the correct stage
- Mounting holes remain accessible
A raised or misaligned joint can cause vibration or resistance as a roller passes over it. Take time to align every connection before tightening the mounting hardware.
Step 5: Mark and Drill the Mounting Holes
Hold the rail or header board along the level reference line and mark each required mounting point.
Before drilling:
- Confirm the complete line is level
- Recheck the height at both ends
- Verify that mounting points reach suitable structural support
- Check for hidden wiring or plumbing
- Confirm that the rail is facing the correct direction
- Make sure required stoppers or connectors are already in position
Drill pilot holes using the size and depth specified for the mounting hardware and wall construction.
For masonry or concrete, use suitable tools and fasteners for that material. If the wall structure is uncertain, consult a qualified installer before mounting the doors.
Step 6: Install the Header Board When Required
A header board can provide a continuous mounting surface and create additional separation from door trim.
If the installation uses a header board:
- Locate and mark the structural framing.
- Position the board level above the opening.
- Secure the board to the framing using suitable fasteners.
- Confirm that the board remains flat and level.
- Mark the track mounting points on the installed board.
The header board itself must be securely attached to structural support. Attaching a board only to drywall does not create adequate support for the doors.
Step 7: Mount and Level the Track
Install the spacers, track and mounting fasteners in the sequence shown in the product manual.
Start the fasteners without fully tightening them. Check the rail with a level, make any small adjustments and then tighten the fasteners evenly.
After mounting, inspect the rail from the front and side:
- The track should be level
- The rail should remain straight
- Spacers should sit evenly
- Track joints should be aligned
- Brackets should not twist
- Fasteners should be secure without deforming the track
An uneven track can cause the doors to roll by themselves, stop unexpectedly or place additional stress on the hangers.
Step 8: Attach the Hangers to the Doors
Identify the hanger or offset assembly intended for each door.
Use the template and dimensions supplied with the selected hardware to mark the drilling locations. Before drilling, confirm:
- The correct hanger is assigned to the correct panel
- Both hangers on one door are at the same height
- The hangers are square to the top edge
- Bolts will pass through structurally suitable sections of the door
- The hardware will not interfere with door joints or glass
- The front and rear panels will maintain the intended spacing
Drill clean, straight holes using the specified bit size. Attach the hangers with the supplied bolts, washers and nuts in the order shown in the manual.
Tighten the hardware evenly. The hanger straps should sit flat and remain vertical when the door is upright.
Step 9: Install Anti-Jump Components
Anti-jump components help prevent the door from being lifted far enough for a roller to leave the rail.
Install them in the specified position before or immediately after hanging the doors, according to the manual. Make sure each component:
- Clears the underside of the track during normal movement
- Limits excessive upward movement
- Does not rub continuously against the rail
- Is secured in the correct orientation
Every door should use the anti-jump components supplied or specified for that hardware configuration.
Step 10: Hang the Doors
Follow the hanging order shown in the product manual. In many overlapping installations, access is easier when the rear panel is positioned before the front panel, but the correct sequence depends on the hardware arrangement.
With another adult assisting:
- Lift the first door carefully.
- Set both rollers fully onto the correct rail position.
- Hold the door steady while checking its clearance.
- Install or position the required anti-jump components.
- Repeat the process for the other door.
- Confirm that every wheel is properly seated.
Once both doors are hanging, slowly move them by hand. Stop if a roller is not centered, a hanger touches another component or the panels contact each other.
Step 11: Set Door Overlap and Stoppers
Move the doors into their fully closed positions and check the coverage.
Adjust the stoppers as permitted by the selected hardware so that:
- The doors cover the opening
- The required overlap is maintained
- Rollers cannot travel off the ends of the rail
- Handles remain accessible
- The doors do not strike trim or walls
- Hangers do not contact mounting bolts or track connectors
Tighten the stoppers only after confirming both the closed position and available door travel.
Step 12: Install the Floor Guides
Most top-hung bypass barn doors use floor guides rather than a continuous bottom track.
The guides keep the panels aligned and reduce side-to-side movement. The correct arrangement depends on:
- Door quantity
- Front and rear panel positions
- Spacing between the doors
- Door thickness
- Bottom groove or ungrooved door design
- Flooring and thresholds
Position the guides according to the manual and test the complete door travel before drilling into the floor.
The guides should control lateral movement without pinching the door. If the selected guide requires a bottom groove, confirm the required groove dimensions before routing the door.
Ungrooved adjustable guides may be available for compatible installations.
Step 13: Plan the Handles
Handle placement matters because the doors overlap and move close to one another.
A projecting handle installed on a surface that passes behind another door may prevent the panels from overlapping correctly. Depending on the layout, the installation may use:
- A projecting pull on the accessible face of the front door
- A recessed pull where clearance between panels is limited
- A recessed pull on the reverse side for access from the opposite direction
Move both doors through their complete travel and mark the handle locations before drilling.
Confirm that each handle clears:
- The other door
- The wall
- Door trim
- Stoppers
- Bypass components
- Nearby cabinets or appliances
Step 14: Install Compatible Soft-Close Components
Soft-close availability and compatibility vary by product.
If your selected kit includes or supports soft-close:
- Confirm the mechanism matches the track and roller design
- Follow the specified installation sequence
- Check the required activation distance
- Confirm which door movement the mechanism controls
- Make sure the mechanism does not interfere with track joints or stoppers
- Test the door within the permitted weight range
A soft-close mechanism should engage smoothly near the end of travel without pulling the door out of alignment.
Step 15: Test and Adjust the Installation
Move each door slowly through its full available travel several times.
Check that:
- Rollers remain fully seated
- Doors move smoothly
- The rail stays level and secure
- Track joints do not catch the wheels
- Doors maintain the correct overlap
- Panels do not rub against each other
- Handles have sufficient clearance
- Floor guides keep the doors aligned
- Anti-jump components remain correctly positioned
- Stoppers limit travel safely
- Soft-close components engage correctly, when installed
If a door rolls on its own, recheck the track level. If it becomes difficult to move at one location, inspect the track joint, wall alignment, guide position and spacing between the doors.
Make small adjustments one at a time and test the full movement again.
Common Installation Problems
The Door Rolls Without Being Pushed
The track may not be level. Check the rail across its complete length rather than measuring only at the ends.
A Roller Catches at the Track Joint
The track sections or connector may be misaligned. Loosen the connection as needed, align the running surfaces and retighten the hardware.
The Doors Rub Against Each Other
Check the hanger orientation, offset components, door thickness and floor-guide spacing. Confirm that each hanger is attached to the intended panel.
The Door Rubs Against the Floor
Measure from the highest point of the floor. Recheck the track height, hanger placement and required bottom clearance.
The Door Swings Away From the Wall
Check that the floor guides are correctly positioned and compatible with the door thickness and panel arrangement.
The Opening Is Still Visible When Closed
The doors may not provide enough side coverage or center overlap. Recheck the finished opening width, actual door widths and closed positions.
A Handle Blocks Door Movement
A projecting handle may be located on an overlapping surface. Review the panel order and consider a compatible recessed pull where the doors pass close together.
Final Installation Checklist
Before regular use, confirm:
- The correct manual was used
- All supplied components were identified
- The track is attached to suitable structural support
- The track is level and straight
- Track joints are aligned
- Every roller is fully seated
- Hangers are attached to the correct doors
- Anti-jump components are installed
- Stoppers are secure
- Door overlap provides adequate coverage
- Doors maintain the required spacing
- Floor guides are correctly positioned
- Handles clear the wall and other door
- Soft-close components operate correctly, when installed
- All mounting fasteners are secure
- Both doors move smoothly through their intended travel
Recheck the visible fasteners periodically, especially after the first several uses.
Frequently Asked Questions
Can I install single-track bypass barn door hardware directly on drywall?
The track should be secured to suitable studs, structural blocking, a properly supported header board or another mounting surface approved for the selected hardware. Drywall alone does not provide suitable structural support for the weight of the doors.
Do single-track bypass barn doors need a bottom track?
Most top-hung Single-Track Bypass systems use floor guides rather than a continuous bottom track. The overhead hardware supports the doors, while the guides help keep the panels aligned and reduce swinging.
How much should single-track bypass doors overlap?
For a standard reference layout, the Homacer Track Size Calculator uses 6.25 inches of overlap and calculates the minimum width of each door as:
(Finished opening width + 6.25 inches) ÷ 2
The final requirement can vary by hardware configuration, so compare the calculation with the selected product instructions.
Can both doors move on a single-track bypass system?
Movement depends on the selected hardware and door arrangement. The doors share one main rail using an offset hanger configuration, so their movement differs from doors operating independently on two parallel tracks. Review the selected kit’s diagram to understand how each panel travels.
Which door should be hung first?
The hanging order depends on the hardware arrangement. In many installations, positioning the rear panel first provides better access, but the manual supplied with the selected kit should determine the correct sequence.
How high should the track be installed?
Track height depends on the actual door height, roller design, required floor clearance and hardware configuration. Use the dimension shown in the matching installation manual rather than applying one fixed formula to every Single-Track product.
Does every door need a bottom groove?
No. Some floor guides require a routed groove, while selected adjustable guides work with ungrooved doors. Use a guide that is compatible with the door construction and selected hardware.
Can I install a single-track bypass system over door trim?
This depends on the trim projection, spacer length, door thickness and required panel clearance. A properly supported header board may provide additional separation, but its dimensions and mounting must work with the selected hardware.
Can I add soft-close to single-track bypass hardware?
Soft-close compatibility varies by track, roller style and door configuration. Check the selected product details before purchasing or installing a separate soft-close mechanism.
Can I use doors of different thicknesses?
Different door thicknesses can affect hanger fit, panel spacing, guide alignment and handle clearance. Confirm that both doors meet the thickness specifications of the selected kit before installation.
Complete the Installation With the Correct Hardware
The best results come from treating the rail, hangers, doors, overlap, guides and handles as one connected system.
Start with accurate measurements, match the instructions to the exact hardware kit and confirm structural support before drilling. After installation, test the complete door travel and make small alignment adjustments until the panels move smoothly without rubbing or catching.
Download the correct manual from the Homacer Installation Instructions page, use the
.