

Closet doors are easy to overlook until they start getting in the way. Traditional swinging doors take up space, make small rooms feel tighter, and often do very little for the overall look of the room. That is one reason barn doors for closets have become so popular. They save space, create a cleaner look, and can make a bedroom, hallway, or storage area feel more intentional.
If you have been thinking about building one yourself, the good news is that a closet barn door is one of the more approachable DIY projects. You do not need to be a professional carpenter to make one that looks good and works well. What matters most is choosing the right size, keeping the design simple, and using dependable hardware.
This guide walks through the process step by step so you can build a closet barn door that fits your opening, suits your room, and slides smoothly every day.
Why a Barn Door Works Well for a Closet
A closet is one of the best places to use a sliding barn door because the goal is usually simple: save space, improve access, and make the room feel less cramped.
Unlike a traditional hinged closet door, a barn door slides along the wall instead of swinging outward. That makes it especially useful in smaller bedrooms, guest rooms, and hallway closets where floor space matters. It can also create a more finished look, especially when the door style matches the rest of the room.
For closets, barn doors are usually less about making a dramatic statement and more about making the space feel practical, organized, and easier to use.
Measure the Closet Opening First

Before you start cutting wood or choosing hardware, measure the closet opening carefully.
You will want the door to fully cover the opening when closed, so the finished door should usually be a little wider and a little taller than the opening itself.
A common rule is:
- Door width = opening width + about 2 inches
- Door height = opening height + about 1 inch
You should also check the wall space next to the closet. Since the door needs room to slide open, make sure there are no switches, vents, trim details, or furniture that will get in the way.
This step is easy to rush, but it is what makes the whole project feel right in the end.
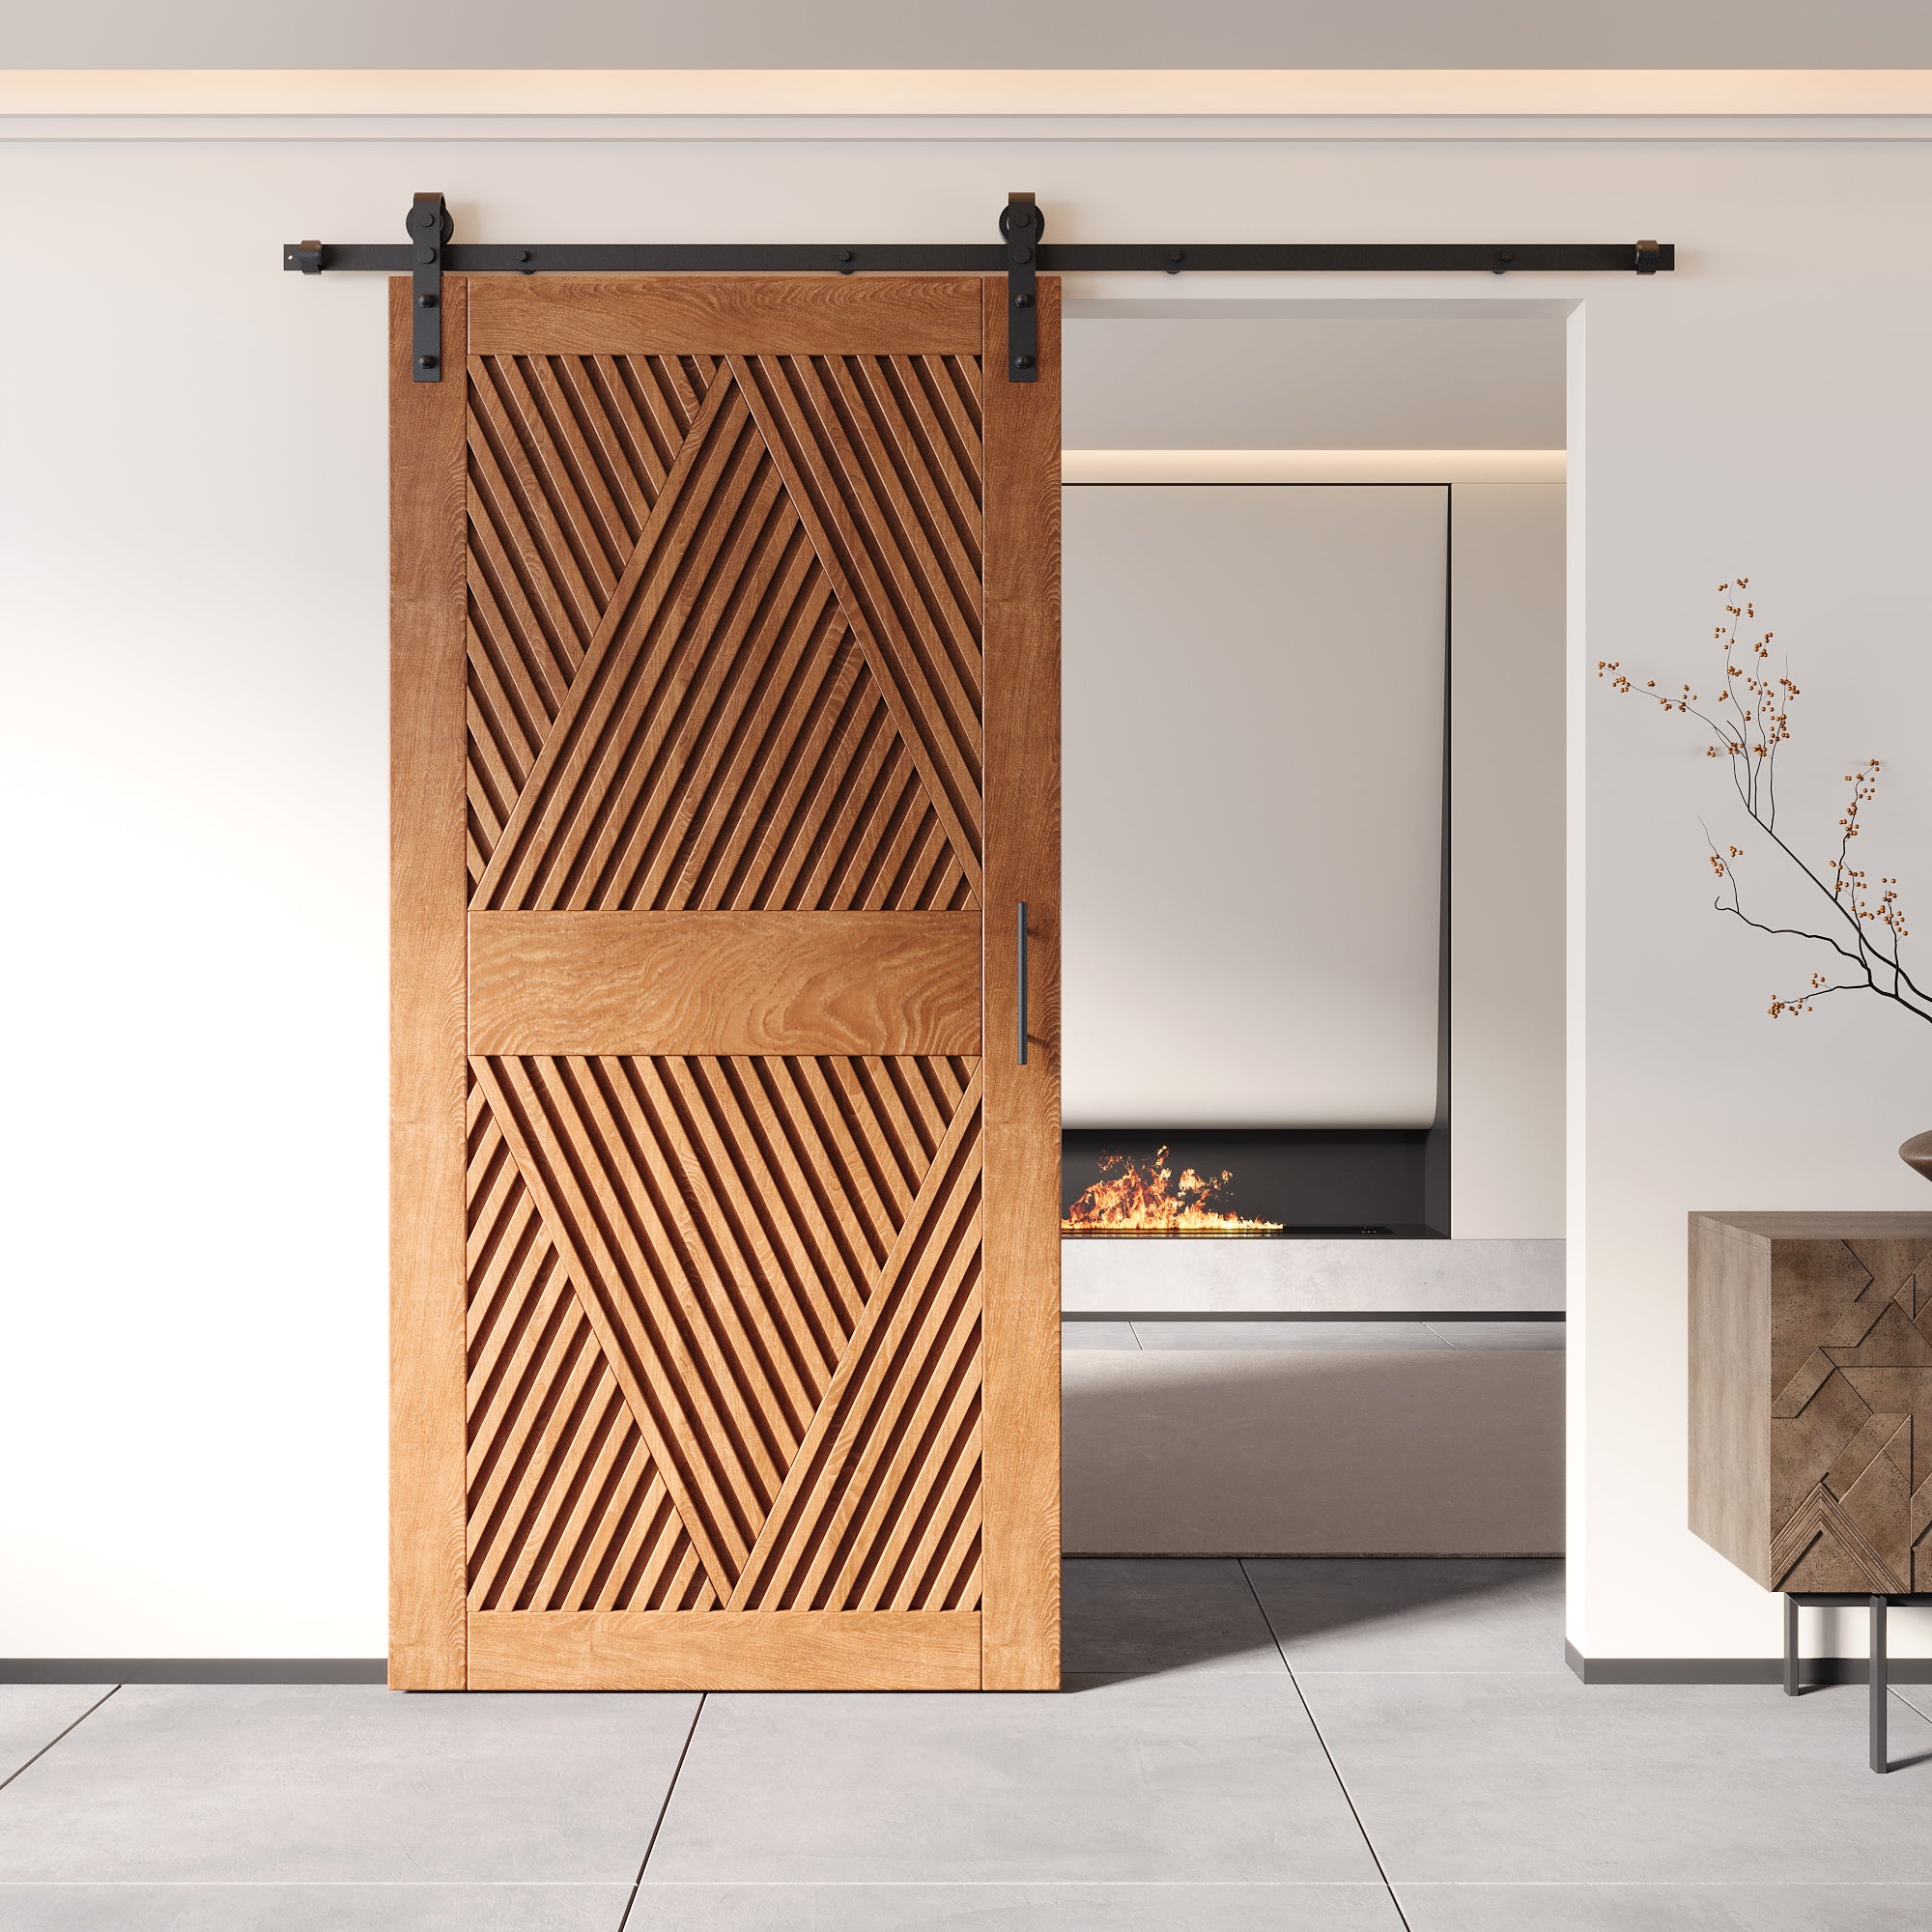
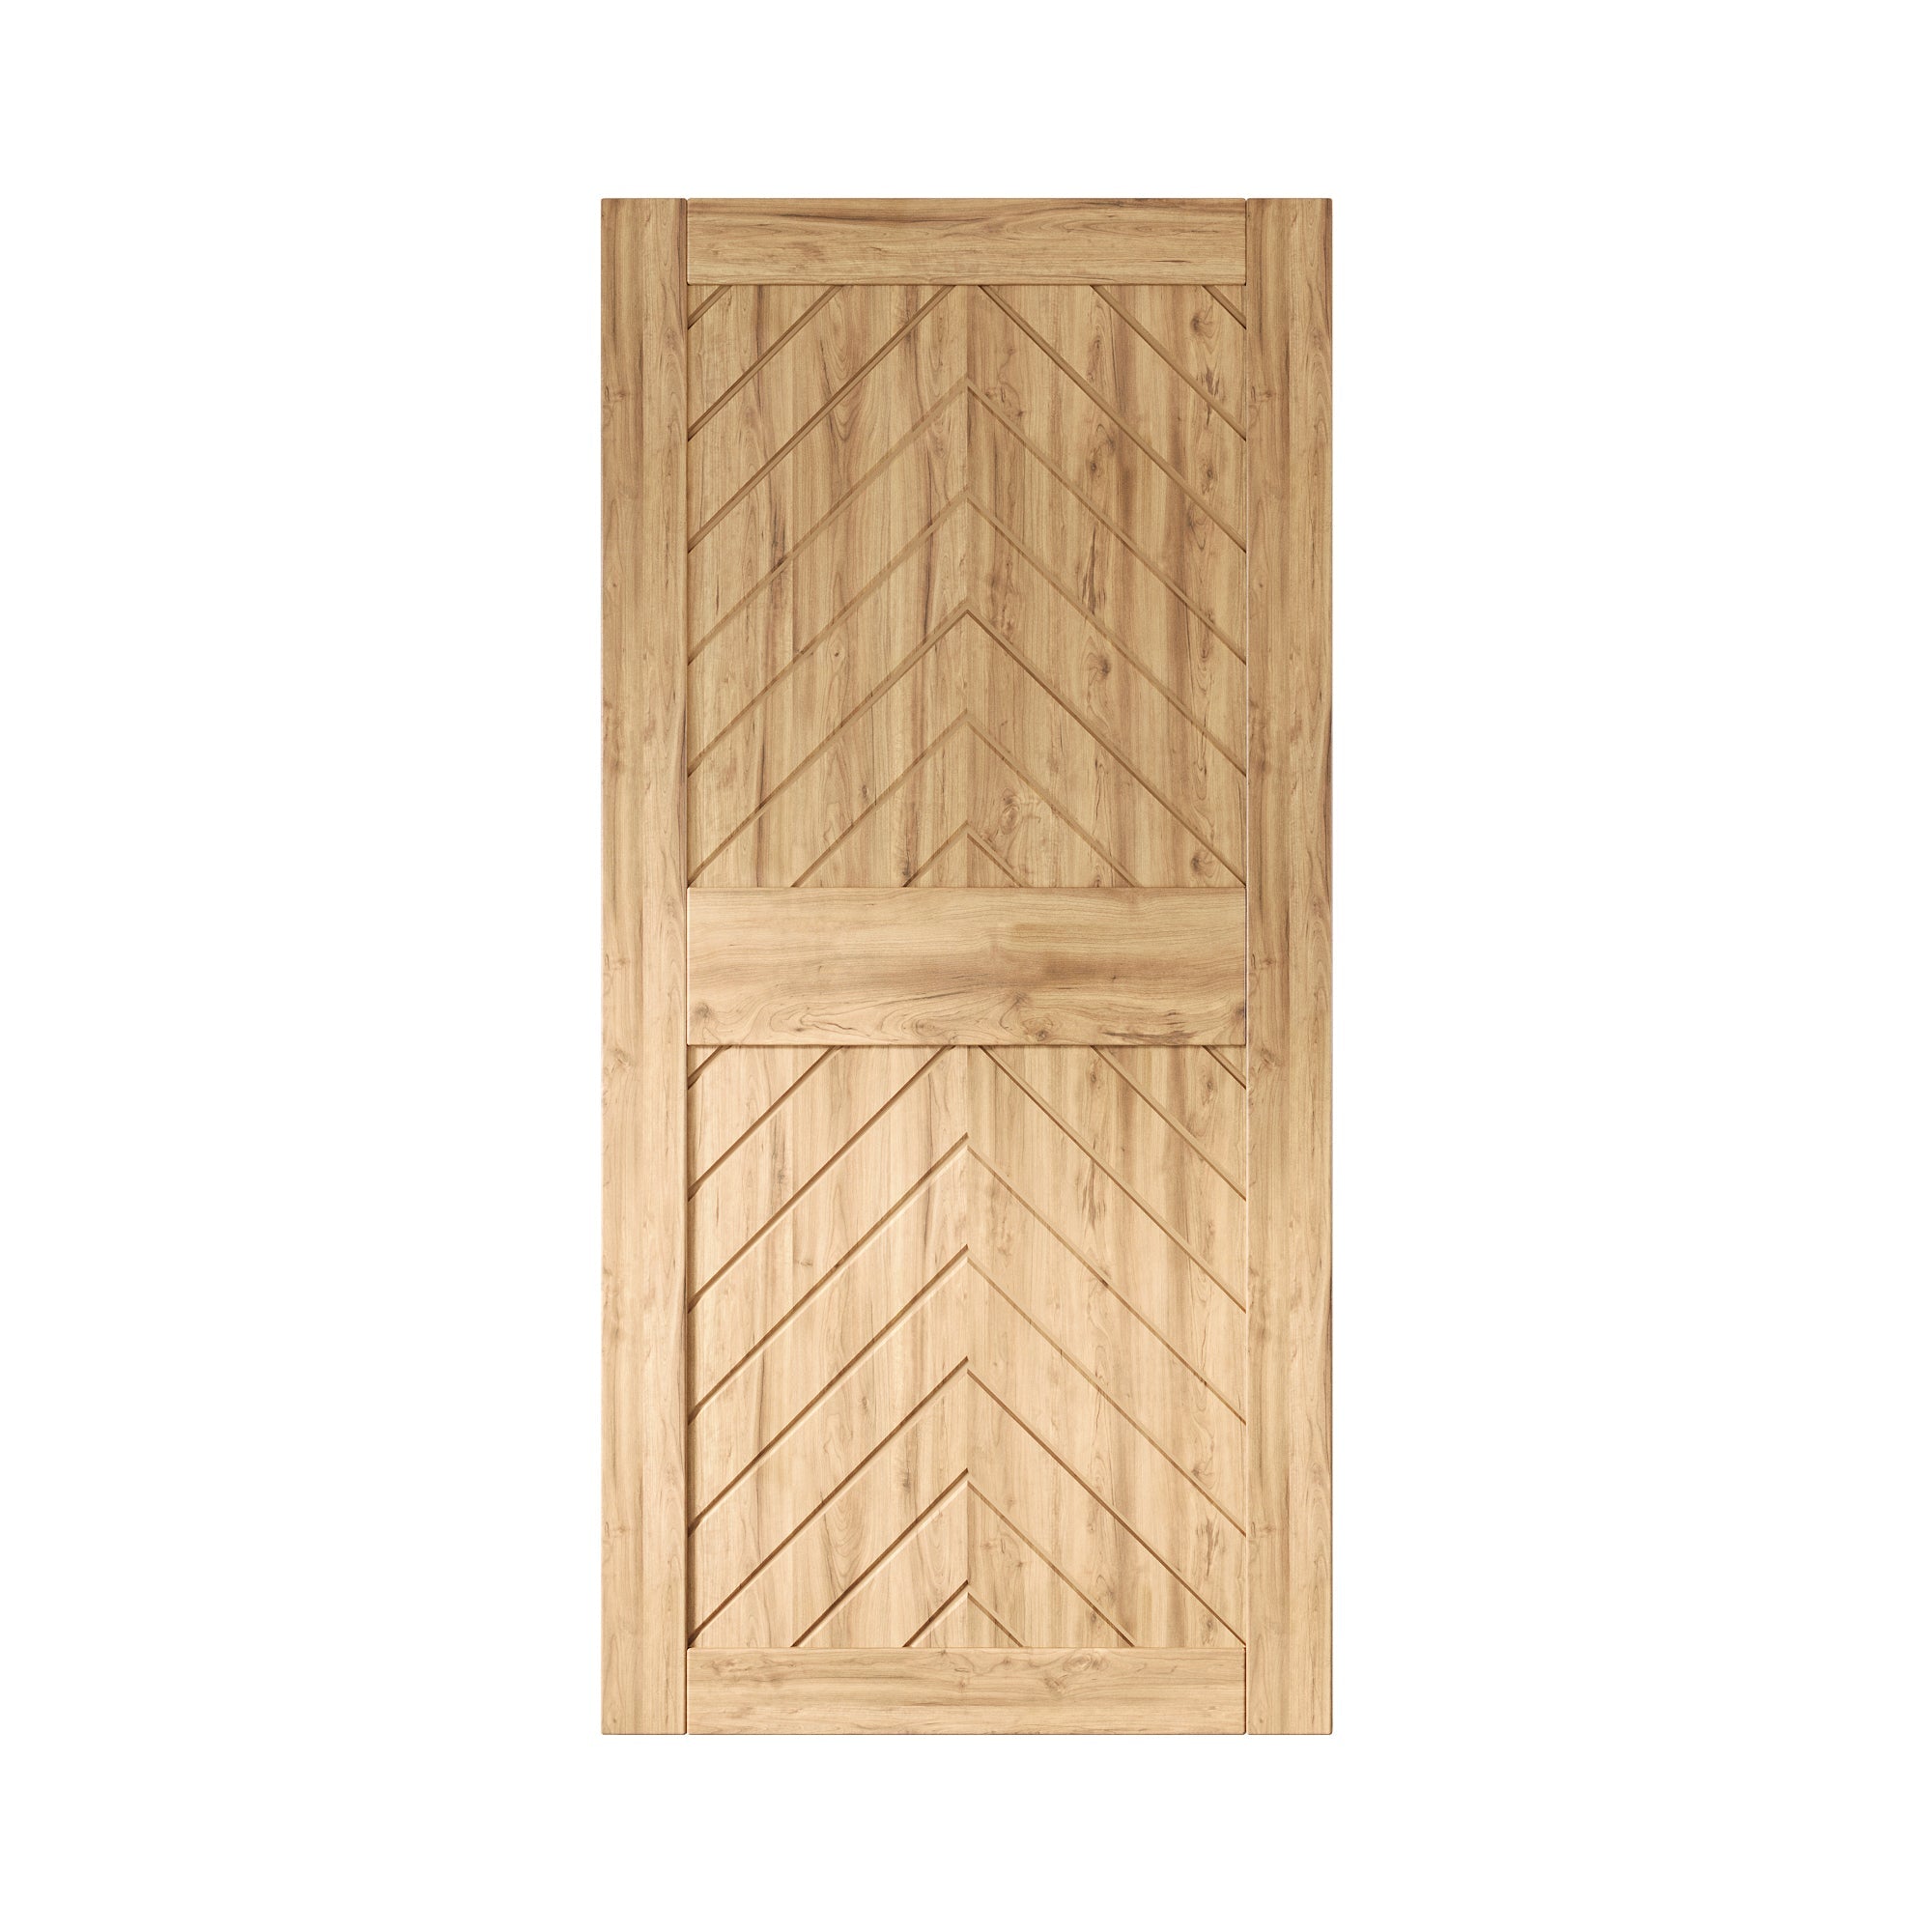
Choose the Right Closet Barn Door Style

For a closet, simple designs usually work best. A cleaner design tends to feel more natural in a bedroom or hallway and is easier to build if you are doing it yourself.
Some closet-friendly styles include:
- vertical plank doors
- shaker-style doors
- half-panel designs
- modern flat-panel doors
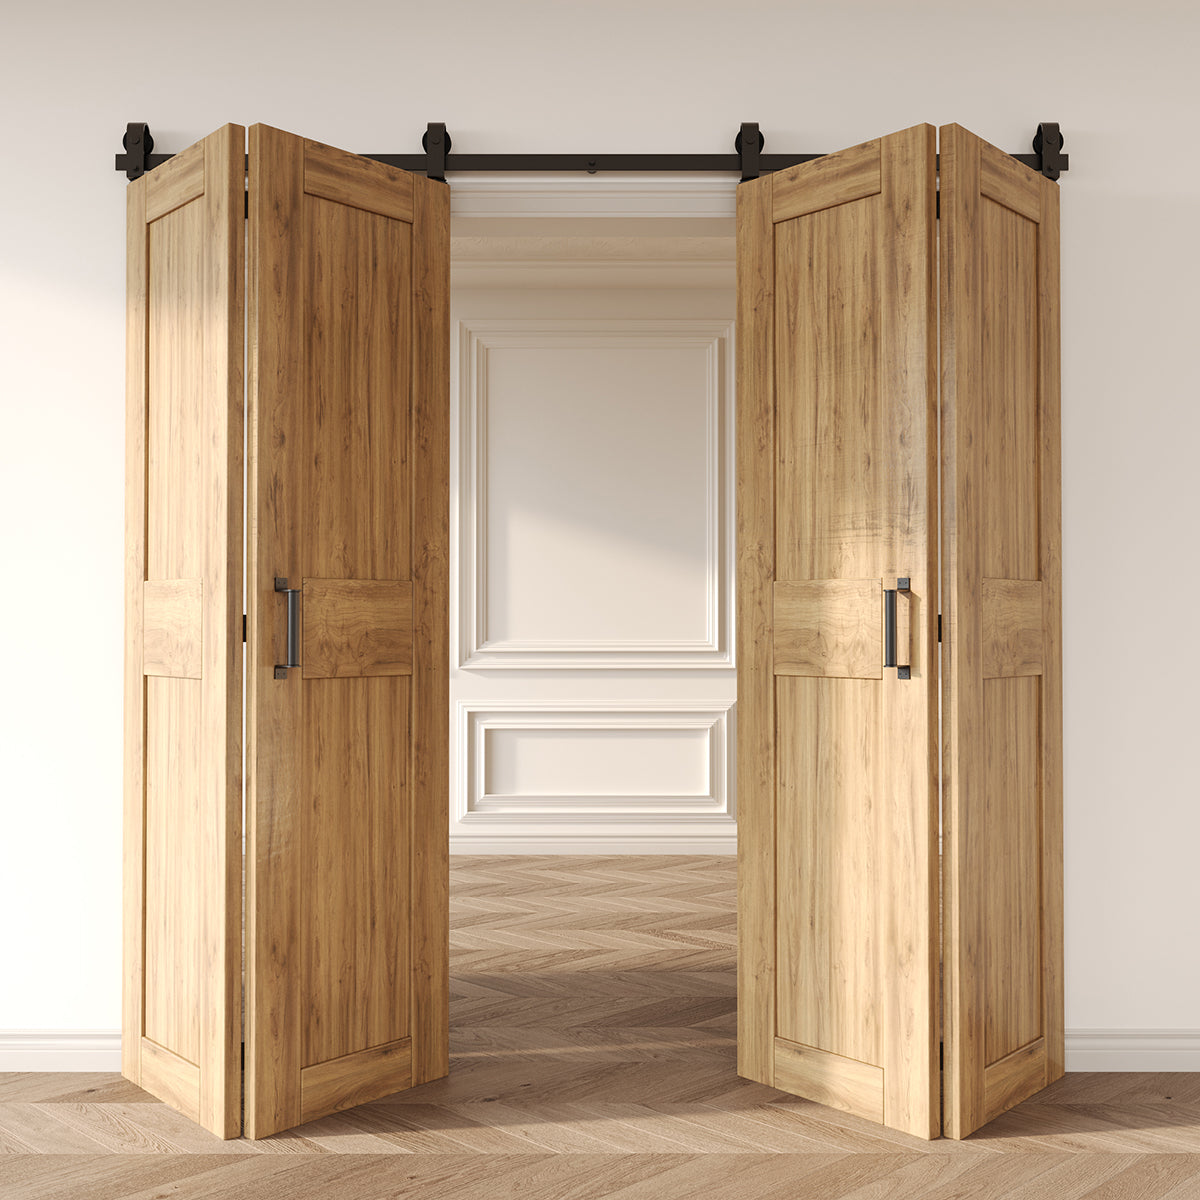
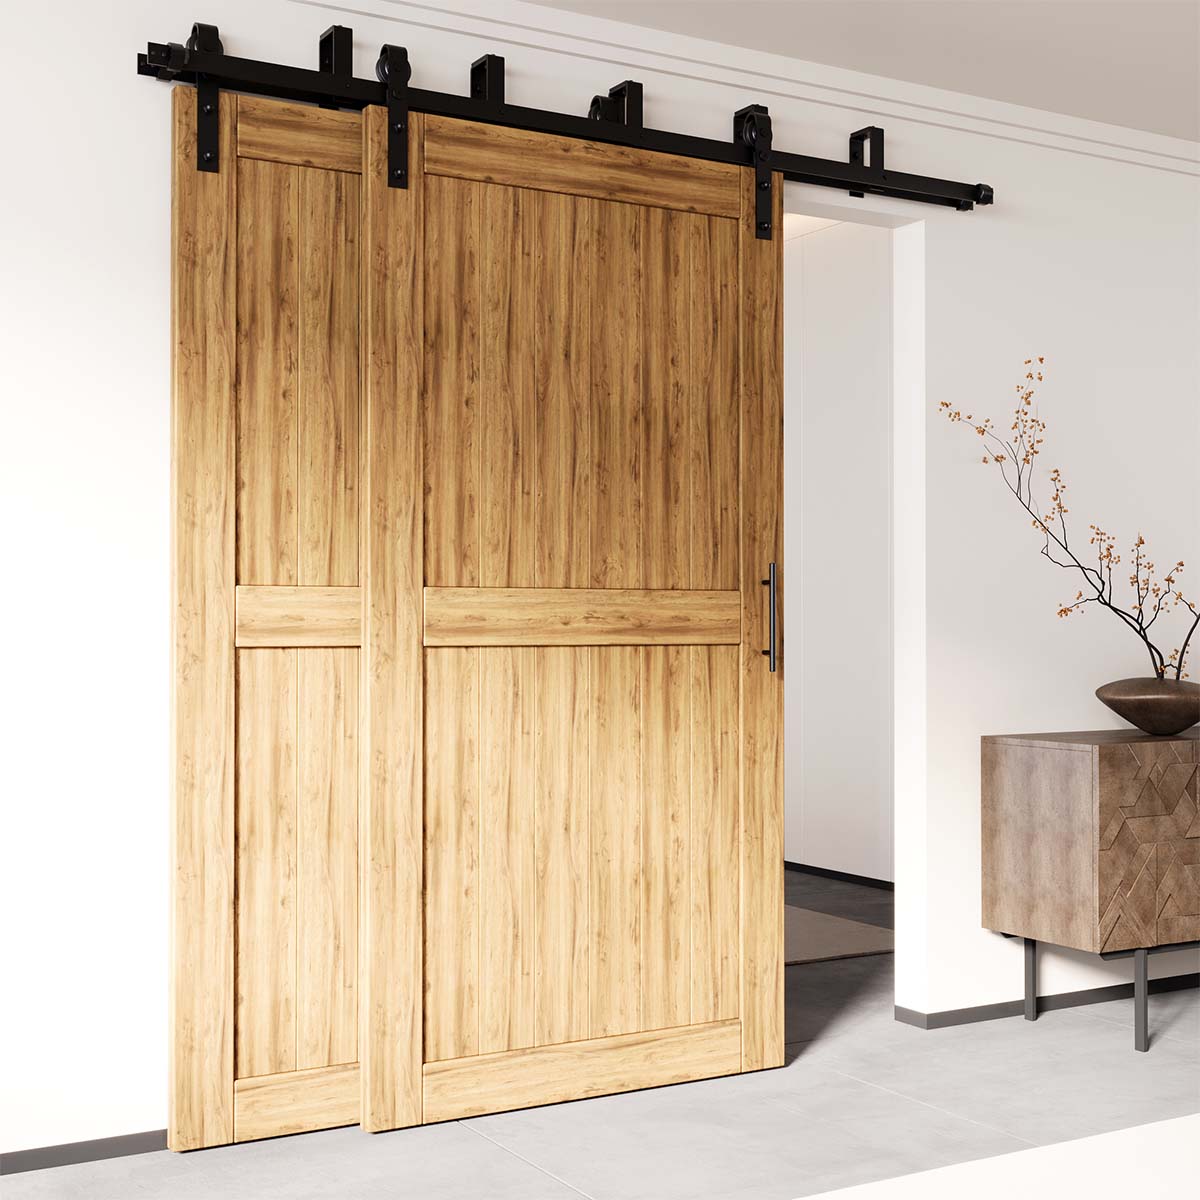
If the closet opening is wider or more difficult to access, it may also make sense to look at bi-fold barn door hardware kits or bypass barn door hardware kits instead of a standard single sliding setup. Those options can work especially well for closets where you want easier access without needing extra swing space.
The best choice depends on how wide the opening is, how much wall clearance you have, and whether you want a simple door-only project or a more complete installation.
Materials and Tools You Will Need
A basic closet barn door project does not require anything overly complicated. Most homeowners can build one with standard tools and straightforward materials.
Materials:
- wood boards or wood panels
- wood glue
- screws
- sandpaper
- paint or stain
- handle or pull
- sliding hardware
Tools:
- tape measure
- drill
- saw
- level
- clamps
- screwdriver
- sander or sanding block
If you already have a door panel and only need the sliding setup, quality hardware matters a lot. If you want to simplify the process, many homeowners choose closet barn door combo kits so the door and hardware are already paired together.
Step 1: Cut the Door Pieces to Size
Once you know your finished dimensions, cut the boards or panels to match. If you are building a plank-style closet door, line up the vertical boards first and make sure the total width looks right before fastening anything together.
This is the stage where patience helps. Even small measurement mistakes can throw off the whole look of the finished door.
If you are using a framed or paneled design, dry-fit the pieces before assembly so you can make adjustments early.
Step 2: Assemble the Door
Lay the pieces flat on a level surface and assemble the door based on the design you chose. Use wood glue where needed, then secure the pieces with screws.
As you go, keep checking that the door stays square. If it shifts during assembly, it may not hang evenly later.
For closet use, the door does not need to be unnecessarily heavy. A lighter door is often easier to install and more comfortable to use every day.
Step 3: Sand and Finish the Surface
After assembly, sand the front, back, and edges until everything feels smooth. This is one of those steps that really affects how finished the door looks.
Once sanding is done, wipe away all dust and apply your paint or stain. Soft neutrals, warm wood tones, black, and white all work well for closets, depending on the room style.
Let the finish dry fully before moving on to installation.
Step 4: Install the Track and Hardware
The hardware installation is just as important as the door itself. The track needs to be level, secure, and properly anchored into studs or a solid header board.
After mounting the track, attach the rollers to the door and hang it carefully. Then install the stops and floor guide so the door stays aligned while sliding.
If your closet layout is tight, or the opening is wider than usual, this is where alternative systems like bi-fold or bypass closet setups can sometimes be a better fit than a standard single sliding door.
Step 5: Test the Door and Make Adjustments
Once everything is mounted, slide the door open and closed a few times.
Check that it:
- fully covers the closet opening
- slides smoothly
- stays level
- stops where it should
- does not swing out from the wall too much
A few small adjustments are normal. Most DIY closet barn doors need some fine-tuning before they feel complete.
Is It Better to Build or Buy a Closet Barn Door?
Building your own closet barn door can be a satisfying project if you want something specific and enjoy working with your hands. It gives you more control over the size, color, and overall design.
At the same time, buying a ready-made option can save a lot of time and reduce the chances of measurement or installation mistakes. That is especially true if you want a coordinated look or would rather not source the door and hardware separately.
For some people, a DIY closet barn door is the right project. For others, a pre-matched kit is the easier and more practical choice.

Final Thoughts
Building a barn door for a closet is a practical way to improve both function and style in a smaller space. It can make a room feel more open, help with access, and give a closet a cleaner, more finished look than traditional swinging doors.
The most important parts are measuring carefully, choosing a design that fits the room, and installing the hardware securely. Once those basics are right, the whole project becomes much easier.
If you want to compare different door styles, hardware options, and complete kits in one place, explore our Barn Doors for Closets guide.
