


How to Construct a Barn Door: A Step-by-step Guide for DIY Enthusiasts
Barn doors aren’t just rustic decor—they’re smart, space-saving solutions perfect for modern homes. Whether you're renovating a closet, separating rooms, or just adding a bold design statement, building your own barn door can be easier than you think. In this guide, we’ll walk you through the basics of barn door construction and show you how Homacer’s barn door hardware makes the entire process smoother.
Why Build Your Own Barn Door?
Building a barn door yourself offers several benefits:
- Cost Savings – Pre-built doors can be expensive. Constructing your own allows you to control material costs.
- Customization – From the wood grain to the finish, you get to choose the exact look.
- Satisfaction – There’s nothing more rewarding than installing a functional, stylish piece that you built with your own hands.
Tools and Materials You’ll Need
Here’s a basic list tailored to fit Homacer hardware systems:
Tools:
- Measuring tape
- Circular saw or table saw
- Power drill
- Wood glue
- Clamps
- Sandpaper
- Level
Materials:
- Solid wood or plywood panels
- 1x6 or 1x4 trim boards
- Wood screws
- Stain or paint
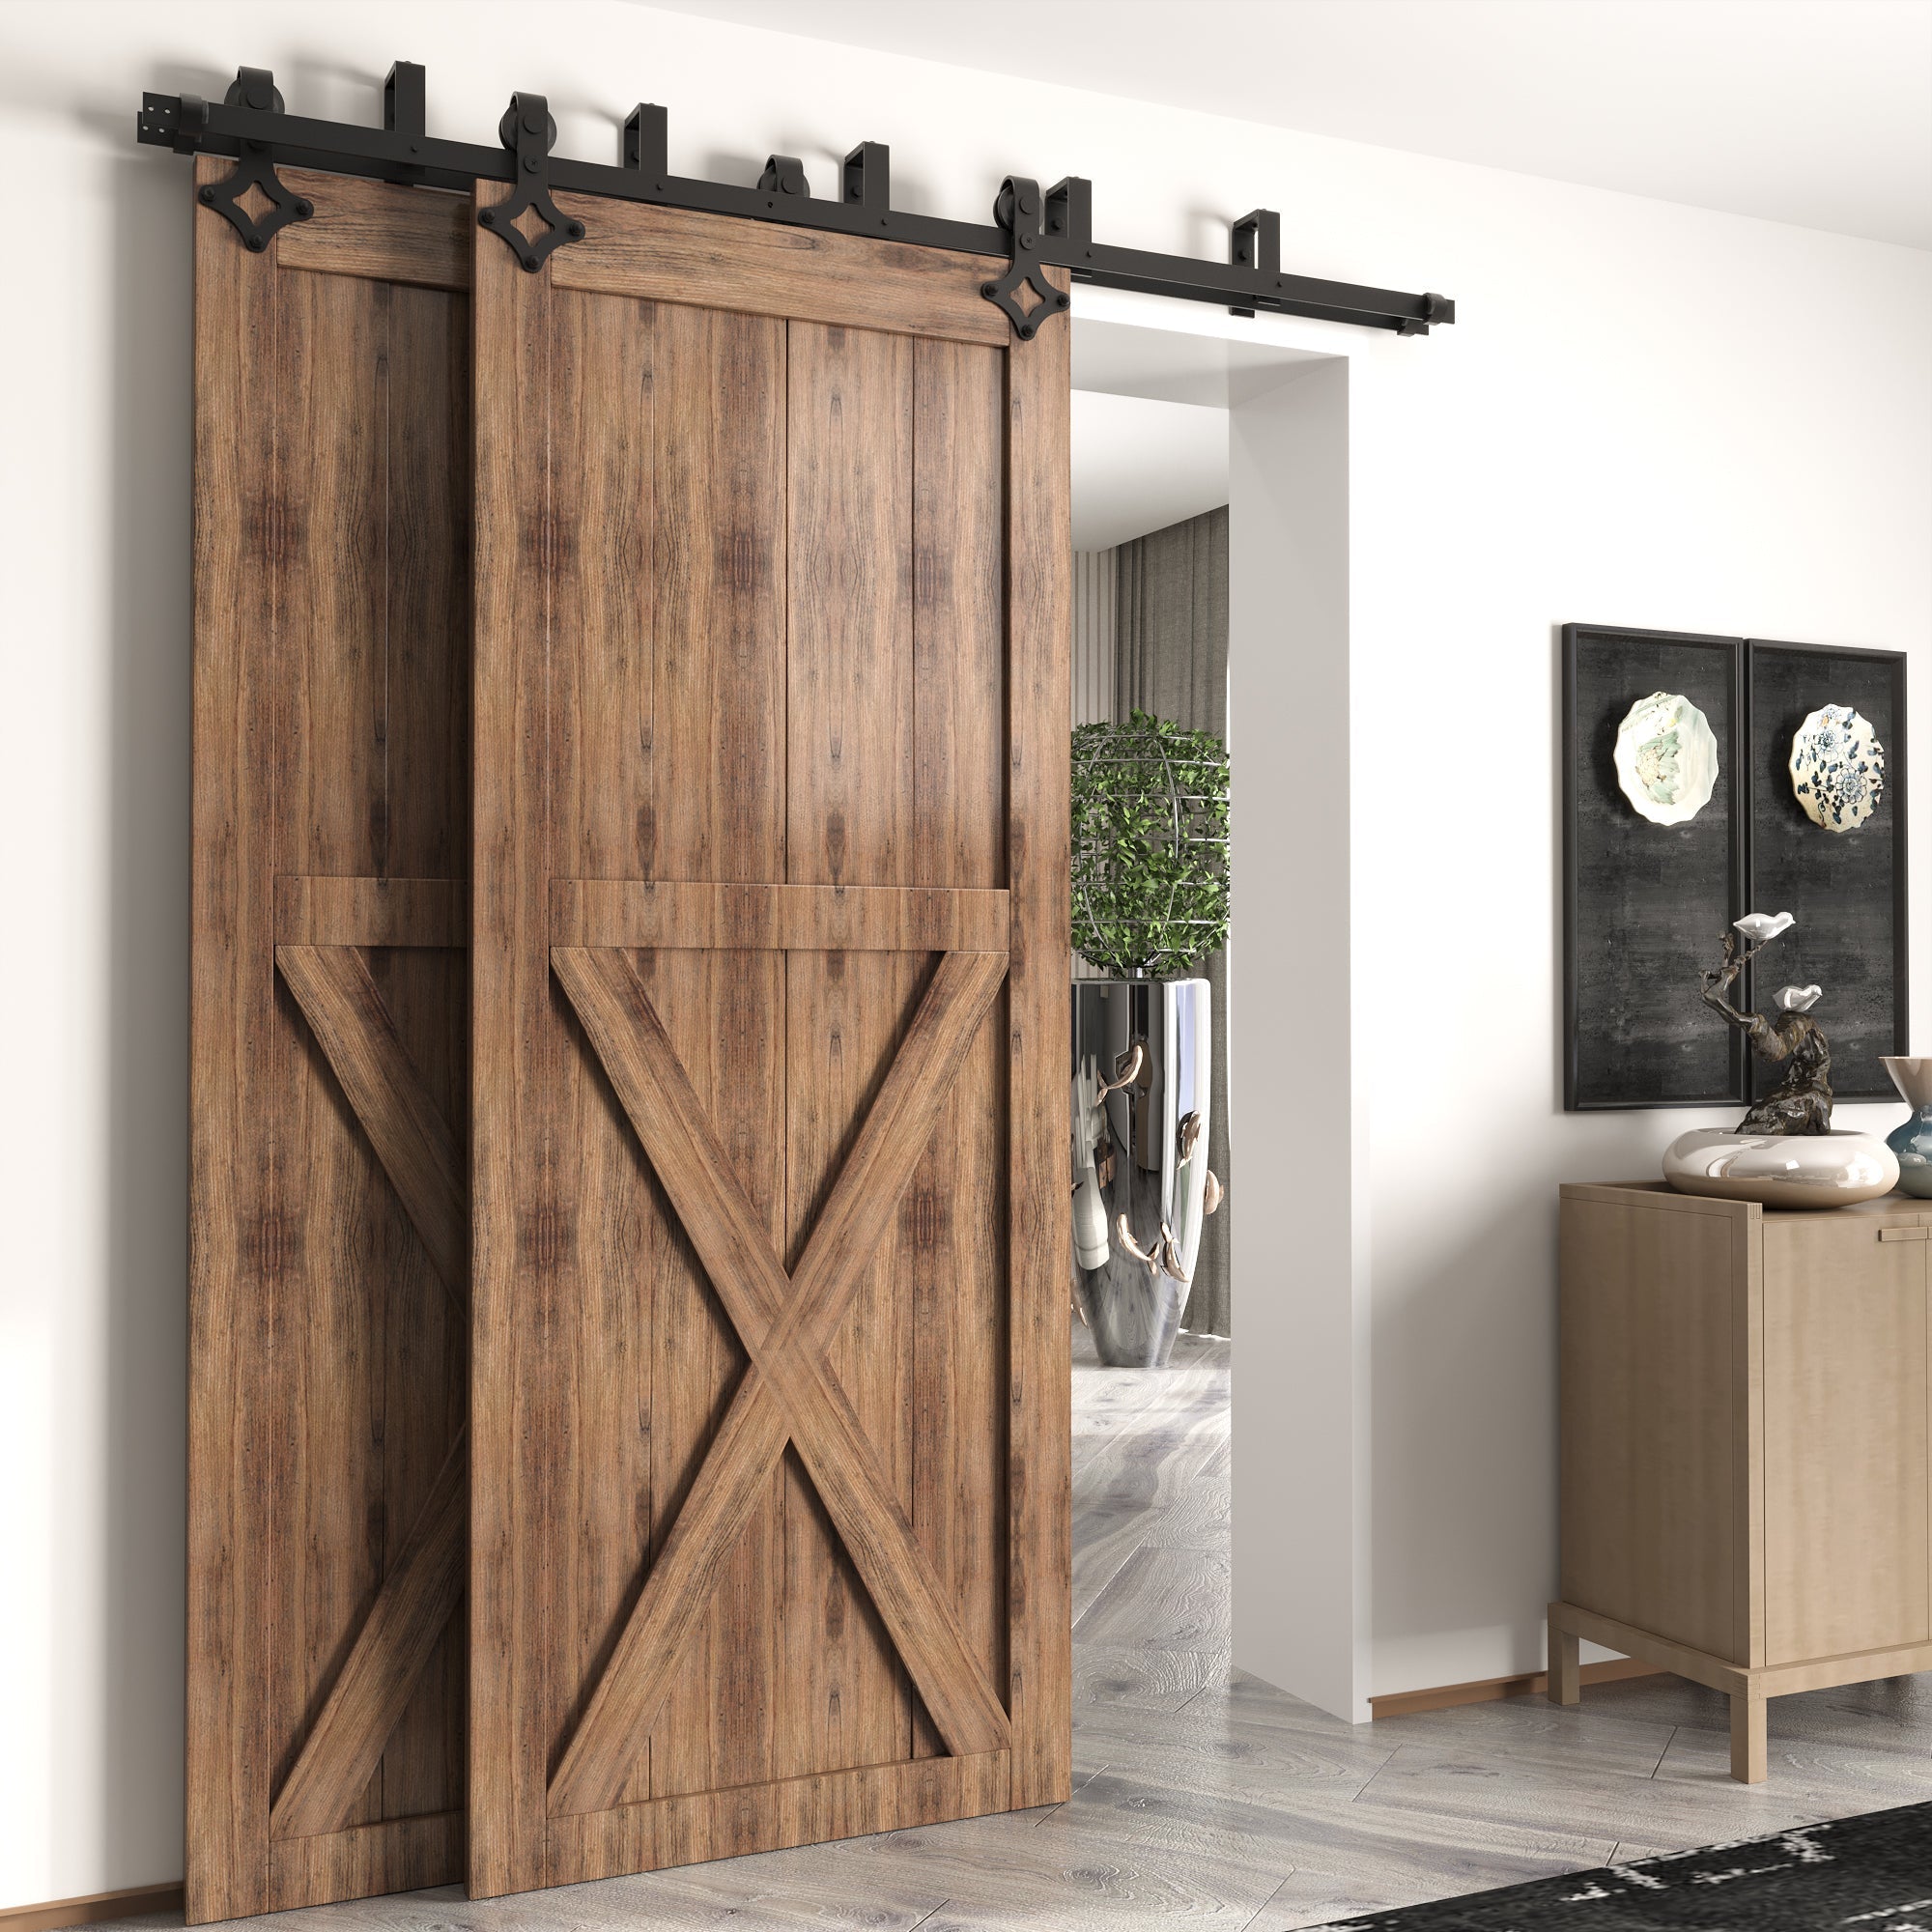
- Homacer barn door hardware kit (choose from Classic, Bi-Foloding, or Ceiling Mount kits)
Step-by-Step: How to Construct a Barn Door
Step 1: Measure Your Opening
Measure the height and width of your door opening. Your barn door should be about 1–2 inches wider and taller than the opening for full coverage.
Step 2: Cut the Panels
Cut your wood panels to the desired height and width. You can use vertical planks or one solid sheet of plywood for a sleeker look.
Step 3: Frame the Door
Add trim boards around the panel edges and optionally across the center or diagonally to mimic the “Z” or “X” barn door style.
Step 4: Assemble and Glue
Use wood glue and clamps to secure the trim. Reinforce with screws on the backside for extra stability.
Step 5: Sand and Finish
Sand the surface thoroughly. Apply your preferred stain or paint, then let it dry for at least 24 hours.
Step 6: Install the Sliding Hardware
This is where Homacer makes your life easier. Our barn door hardware kits come with easy-to-follow installation guides and everything you need to hang your door safely and smoothly.
Pro Tip: Homacer’s soft-close options make your DIY door feel professionally built and ultra-quiet.

Why Choose Homacer for Your Barn Door Project?
- Durability – Heavy-duty steel components built to last.
- Variety – From bi-fold to ceiling mount to bypass kits.
- Style Options – Match your door with classic, modern, or fishbone roller designs.
- Easy Install – Perfect for DIYers of all experience levels.


FAQs
Q: Can I use reclaimed wood to build a barn door?
A: Absolutely! Reclaimed wood adds character and is a sustainable choice—just be sure it’s dry and structurally sound.
Q: How heavy is a DIY barn door?
A: Depending on the wood type and size, most doors weigh between 40–100 lbs. Homacer hardware supports up to 220 lbs.
Q: What’s the best barn door hardware for small spaces?
A: Our Mini Sliding Kits or Bi-Folding Kits are ideal for tight areas.
Final Thoughts
Constructing your own barn door is a project that pays off in both beauty and function. With Homacer’s robust hardware kits and this simple step-by-step guide, your barn door construction journey just became easier—and far more satisfying.
Ready to Build Your Own Barn Door?
👉 Shop Homacer Barn Door Kits Now
👉 Bi-Foloding Barn Door Hardware Kits
👉 Ceiling Mount Barn Door Hardware Kits
👉 Looking for ideas to build your own barn door? Explore our full collection of designs and DIY inspirations — and find the perfect Homacer hardware kit to match your vision.

Leave a comment
This site is protected by hCaptcha and the hCaptcha Privacy Policy and Terms of Service apply.